Spring Boot provides a convenient way to create unit and integration tests for your Spring Boot applications.
The SpringBootTest annotation can be used to run a Spring Boot application as a test, and provides the following features:
- It loads the Spring application context for the test.
- It can be used to test a slice of the application, including just the controllers, or the whole application.
- It can be used to test a single layer (e.g., only the controllers) or the whole application (all layers).
Dependencies we need
You need these dependencies:
If you use Gradle
dependencies {
    implementation 'org.springframework.boot:spring-boot-starter-web'
    testImplementation 'org.springframework.boot:spring-boot-starter-test'
}
If you use Maven
  <dependencies>
    <dependency>
      <groupId>org.springframework.boot</groupId>
      <artifactId>spring-boot-starter-web</artifactId>
    </dependency>

    <dependency>
      <groupId>org.springframework.boot</groupId>
      <artifactId>spring-boot-starter-test</artifactId>
      <scope>test</scope>
    </dependency>
  </dependencies>
Testing your controller with ‘SpringBootTest’
Here is an example of a unit test that tests a single controller using the SpringBootTest annotation.
Suppose, We have this controller:
@RestController
public class UserController {

    @GetMapping("/api/hello")
    public String hello() {
        return "Hello User";
    }

    @GetMapping("/api/user")
    public UserDto user() {
        return new UserDto(1, "MyName", "MySurname");
    }


}
Note that you have to annotate your Test with these two annotations:
- SpringBootTest
- AutoConfigureMockMvc
Spring will provide a MockMvc bean in order to use it for check your endpoints.
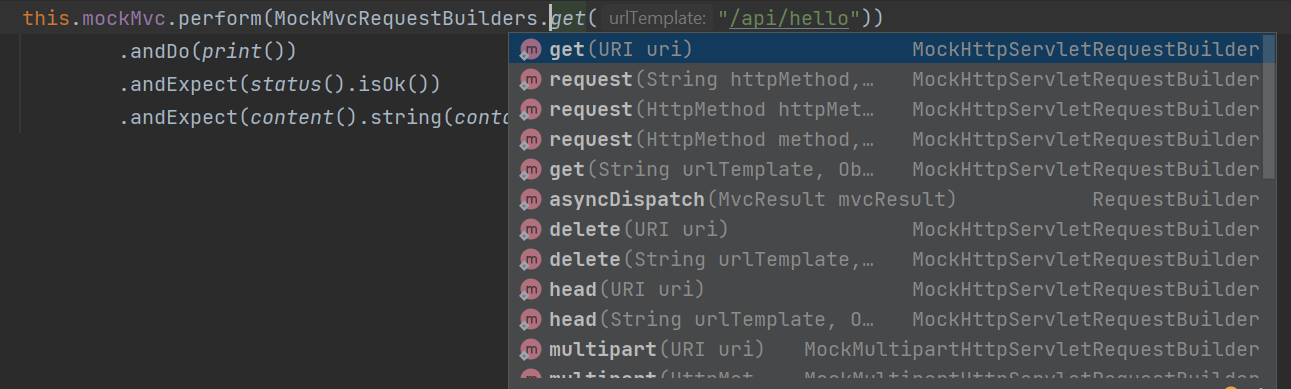
Use:
- movMvc.perform to call the API
- MockMvcRequestBuilders to map the URL of your controller.
- print() to print the result to the standard output (console)
- andExpect(status) to check the status response
- andExpect(content response) to validate the response coming from the controller.
MockMvcRequestBuilders provide all types of methods for get, post, put, delete, etc.
Review this post for more information about RestController
Here you have a code example:
In the first test, we check the response like a String. In the second test we check the response like a JSON, and to do that we use ObjectMapper.
@SpringBootTest
@AutoConfigureMockMvc
class UserControllerTest {
@Autowired
private MockMvc mockMvc;
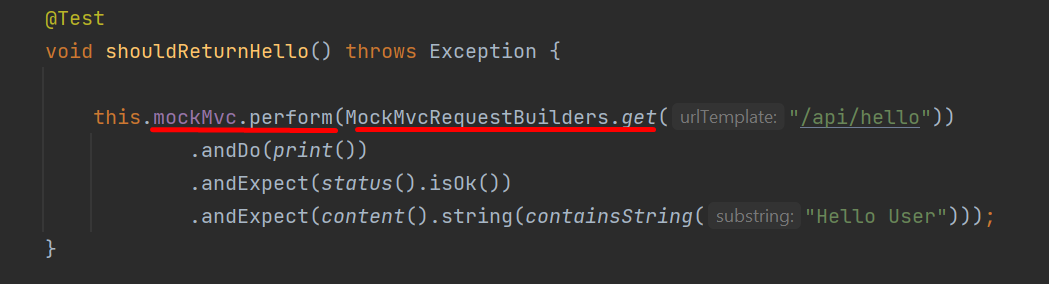
@Test
void shouldReturnHello() throws Exception {
this.mockMvc.perform(MockMvcRequestBuilders.get("/api/hello"))
.andDo(print())
.andExpect(status().isOk())
.andExpect(content().string(containsString("Hello User")));
}
@Test
void shouldReturnUser() throws Exception {
String expectedJson = new ObjectMapper()
.writeValueAsString(new UserDto(1, "MyName", "MySurname"));
this.mockMvc.perform(MockMvcRequestBuilders.get("/api/user"))
.andDo(print())
.andExpect(status().isOk())
.andExpect(content().json(expectedJson));
}
}
Testing your controller with TestRestTemplate
Also, you can test your controllers using a TestRestTemplate.
In this case, you have to use the same annotation SpringBootTest and provide the port to start a ‘web environment’, here we use the RANDOM_PORT value for the ‘webEnvironment’ parameter.
This ‘RANDOM_PORT ‘ will cause Spring to determine a random port and we will access this port using @Value(value = “${local.server.port}")
Spring Boot automatically provided the bean TestRestTemplate and we can add @Autowired to have access and use it.
@SpringBootTest(webEnvironment = SpringBootTest.WebEnvironment.RANDOM_PORT)
class UserControllerRandomPortTest {

    @Value(value = "${local.server.port}")
    private int port;  // The port that Spring randomly assigned.

    @Autowired
    private TestRestTemplate restTemplate;

    @Test
    public void shouldReturnHello() throws Exception {
assertThat(this.restTemplate.getForObject("http://localhost:" + port + "/api/hello",
                String.class)).contains("Hello User");
    }

    @Test
    public void shouldReturnUser() throws Exception {

        String expectedJson = new ObjectMapper()
                .writeValueAsString(new UserDto(1, "MyName", "MySurname"));

assertThat(this.restTemplate.getForObject("http://localhost:" + port + "/api/user",
                String.class)).isEqualTo(expectedJson);
    }

}
Testing your controller with WebMvcTest
In the previous example with SpringBootTest annotation Spring started full application context.
But We can narrow the tests to only the web layer by using WebMvcTest.
@WebMvcTest is a Spring Boot annotation that is used to test the Spring MVC layer of a Spring application. It is used to test the web controllers in a Spring application.
When you use @WebMvcTest, the test will:
- Start an application context that contains only the beans needed for testing the MVC layer (e.g. controllers, converters, validators).
- Mock the servlet environment (e.g. the request and response objects).
- Perform a full MVC test (i.e. with a running servlet container).
To use @WebMvcTest, you need to:
- Annotate the test class with
@WebMvcTest. - Autowire the
MockMvcobject in your test class.
Here’s an example of how you might use @WebMvcTest to test a controller in a Spring application:
@WebMvcTest(UserController.class)
class UserControllerWebMvcTestTest {

    @Autowired
    private MockMvc mockMvc;

    @Test
    void shouldReturnHelloWorld() throws Exception {

        this.mockMvc.perform(MockMvcRequestBuilders.get("/api/hello"))
                .andDo(print())
                .andExpect(status().isOk())
                .andExpect(content().string(containsString("Hello User")));
    }

    @Test
    void shouldReturnUser() throws Exception {
        String expectedJson = new ObjectMapper()
                .writeValueAsString(new UserDto(1, "MyName", "MySurname"));

        this.mockMvc.perform(MockMvcRequestBuilders.get("/api/user"))
                .andDo(print())
                .andExpect(status().isOk())
                .andExpect(content().json(expectedJson));
    }

}
In this example, @WebMvcTest is used to start an application context that contains only the beans needed for testing the MyController class. The MockMvc object is then used to send a GET request to the /my-controller/get-method URL and verify that the response has an HTTP status of 200 (OK) and a body of “Hello World”.
Note, this test is the same that the previous examples, but in this case, Spring doesn’t start all context. Here Spring only starts the web layer, which is the controller context so this test should run faster.
Conclusion
We learn how to test our RestController in different ways in order to check your APIs and keep the integrity of requests and responses.
Testing controllers in a Spring Boot application is important for several reasons:
- It helps ensure that the controllers are working correctly and returning the expected results.
- It helps ensure that the controllers are robust and can handle different input and edge cases.
- It helps ensure that changes to the controllers don’t break existing functionality for those who are consuming them.
You can find all this code in GitHub