In this post, we are going to integrate Swagger with our Spring Boot application.
What is Swagger?
Swagger allows us to document our ‘APIS’ in a simple and fast way. This allows us to keep the structure of our APIS with their signatures up to date.
What is the easiest way to add Swagger to Spring Boot?
Spring Boot comes with an easy way to integrate Swagger.
You have to add these dependencies to your project.
Gradle
implementation 'io.springfox:springfox-boot-starter:3.0.0
Maven
<dependency>
    <groupId>io.springfox</groupId>
    <artifactId>springfox-boot-starter</artifactId>
    <version>3.0.0</version>
</dependency>
Swagger config for Spring Boot
We need to create a Docket ‘bean’ to configure Swagger.
The “Docket class” provides convenient defaults and set-up methods.
import org.springframework.context.annotation.Bean;
import org.springframework.context.annotation.Configuration;
import springfox.documentation.builders.PathSelectors;
import springfox.documentation.builders.RequestHandlerSelectors;
import springfox.documentation.spi.DocumentationType;
import springfox.documentation.spring.web.plugins.Docket;

@Configuration
@EnableSwagger2
public class SwaggerConfig {
    @Bean
    public Docket api() {
        return new Docket(DocumentationType.SWAGGER_2)
                .select()
                .apis(RequestHandlerSelectors.any())
                .paths(PathSelectors.any())
                .build();
    }
}
Let’s see:
- First, you define a Docket with a Swagger version. In this case SWAGGER_2.
- After that, with select() you obtain an instance of ApiSelectorBuilder.
ApiSelectorBuilder allows you to control the exposed endpoints by Swagger.
With ApiSelectorBuilder, you can add more options to control what you will expose in Swagger using apis(RequestHandlerSelector) and paths(PathSelectors).
Here we define ‘any’ for both parameters so that we will expose all APIs.
RequestHandlerSelectors

PathSelectors

With this minimal configuration, we can see your Swagger documentation.
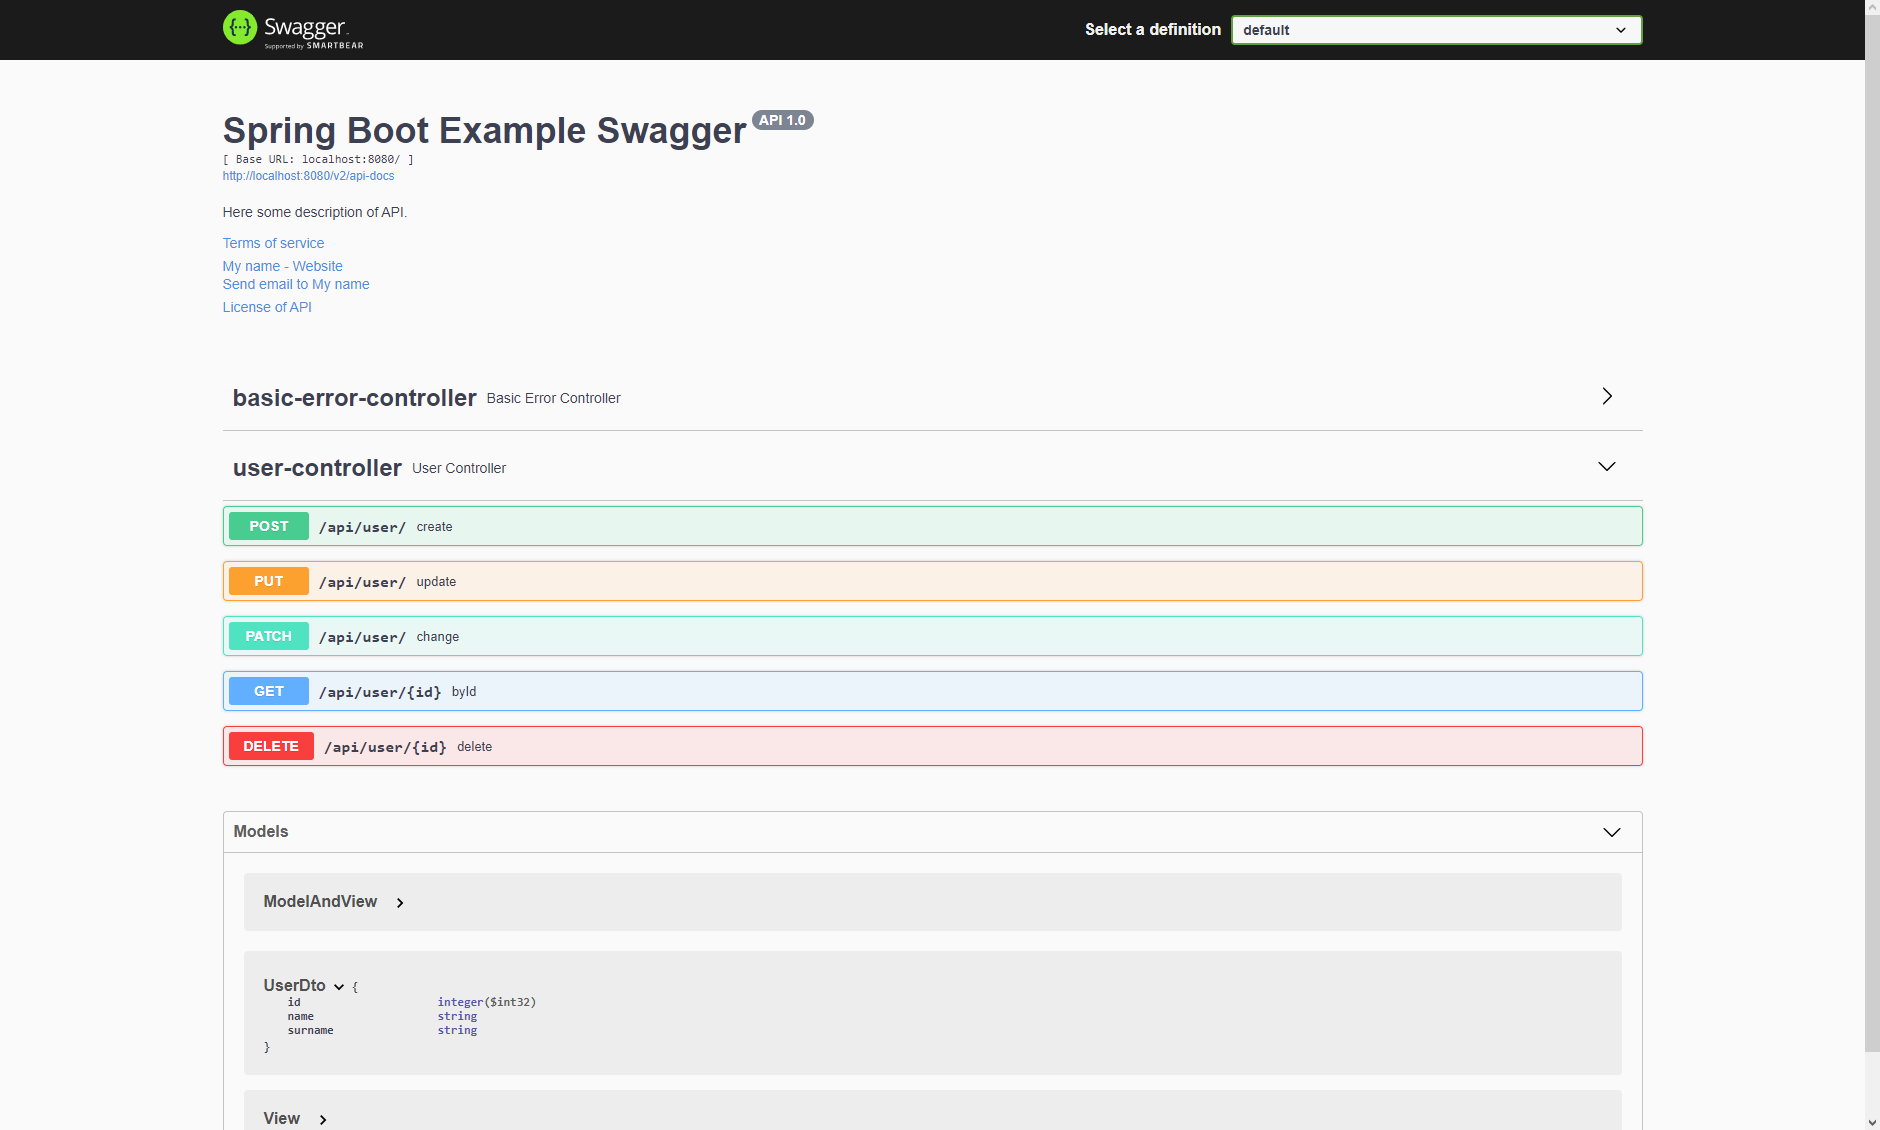
Run Spring Boot with Swagger
Run your application and then visit the swagger URL.
The Swagger URL is the path to your application with the route /swagger-ui/#/
http://localhost:8080/swagger-ui/#/
Adding more information
If you want, you can add more information with ApiInfo by adding these parameters:
- title,
- description,
- version,
- termsOfServiceUrl,
- contact,
- license,
- license URL,
- vendor extensions
@Configuration
@EnableSwagger2
public class SwaggerConfig {
    @Bean
    public Docket api() {
        return new Docket(DocumentationType.SWAGGER_2)
                .select()
                .apis(RequestHandlerSelectors.any())
                .paths(PathSelectors.any())
                .build()
                .apiInfo(apiInfo());  // api own information
    }

    private ApiInfo apiInfo() {
        return new ApiInfo(
                "Spring Boot Example Swagger",
                "Here some description of API.",
                "API 1.0",
                "Terms of service",
                new Contact("My name", "www.mydomain.com", "myeaddress@mydomain.com"),
                "License of API", "API license URL",
                Collections.emptyList());
    }
}
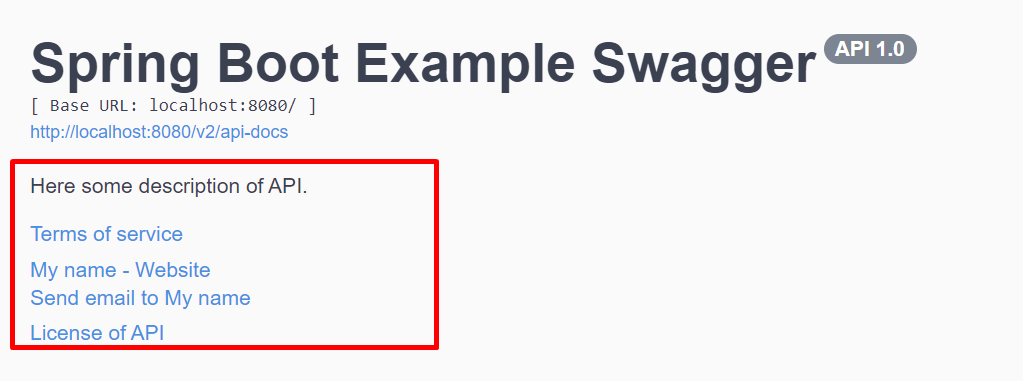
Here you can see the new information added.
How to use Swagger to send a request?
You can use Swagger in order to send a request to your APIs.
In this example, we can send a ‘Post’ to “/api/user”
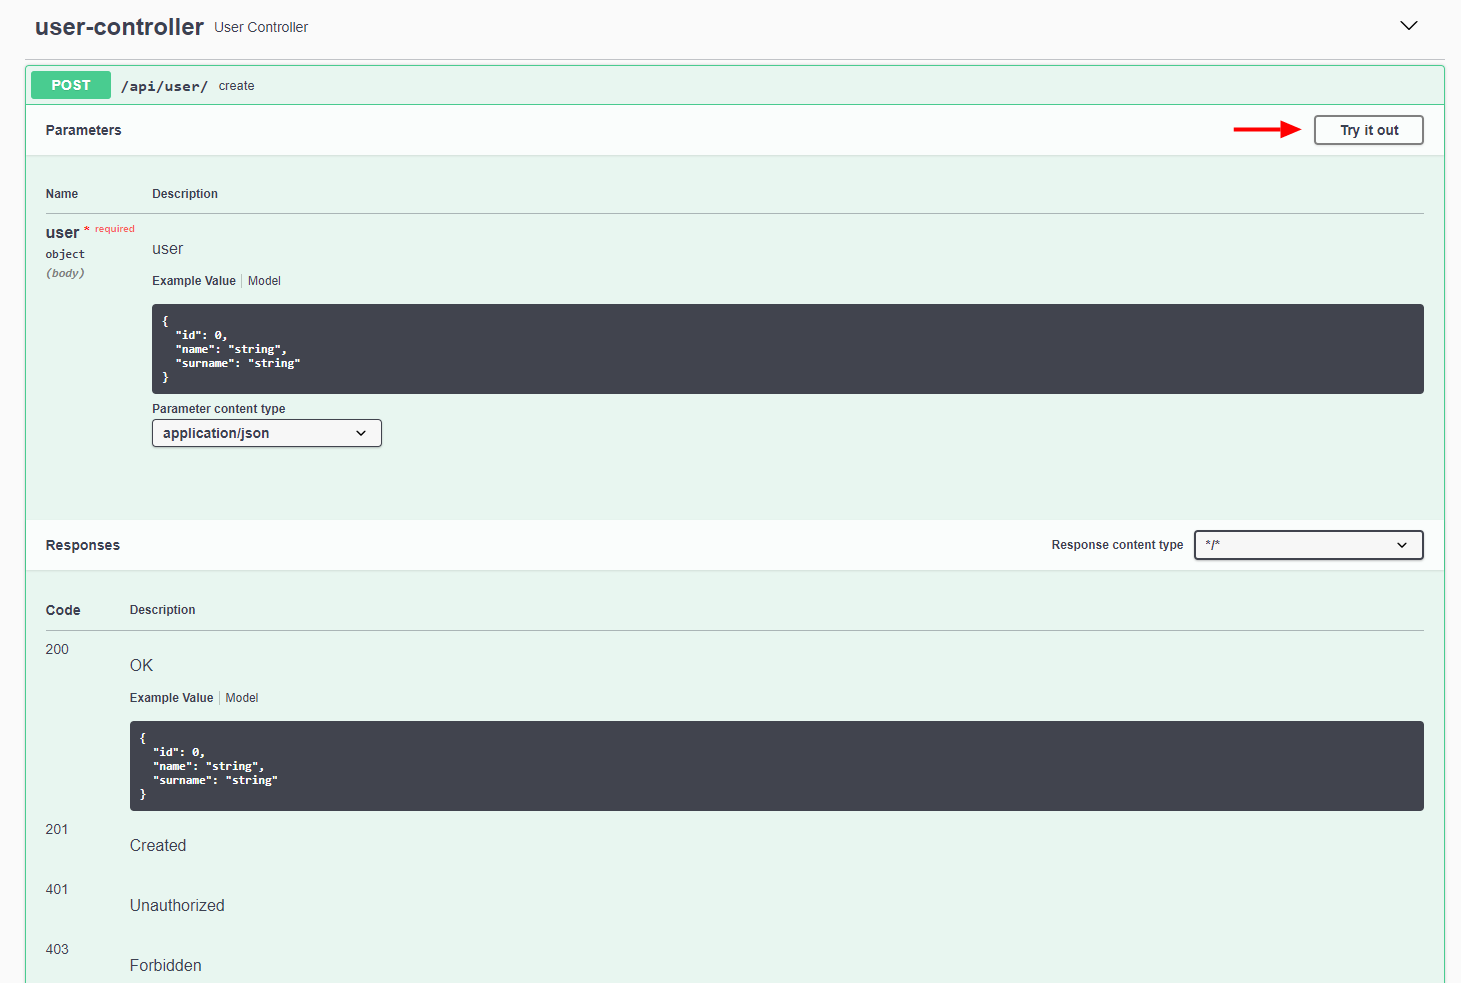
Swagger send request
Complete the body for the request and run with execute.
You can see the response to this request.
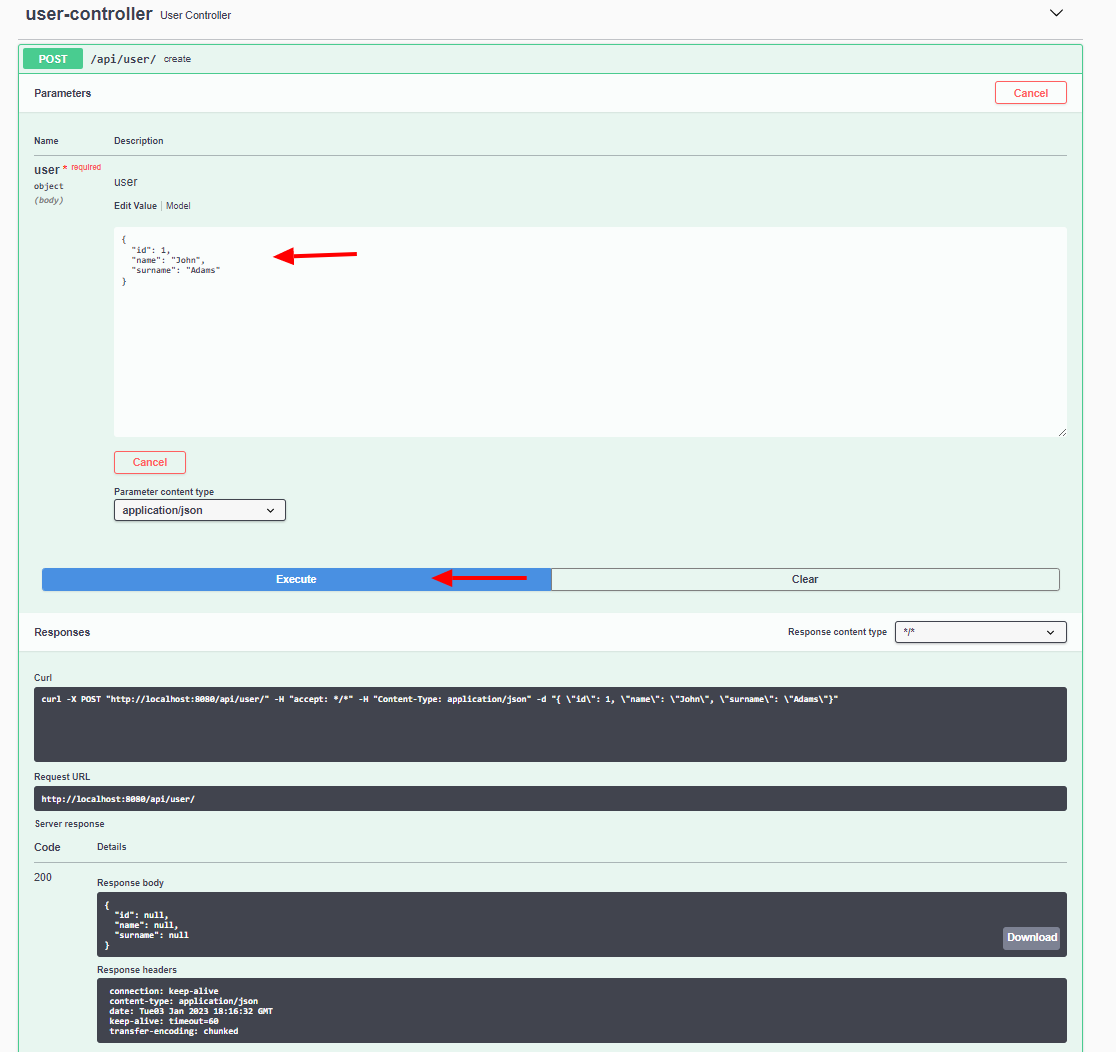
Swagger send request body
Conclusion
In this article, we saw how to integrate Swagger into our Spring Boot project. We understood how easy it is to document our APIs and use Swagger to send requests to our controllers.
You can review this code on GitHub