In this post, we will understand what a controller is and how to create a controller in Spring Boot.
What is a Rest Controller
A controller is a Spring component capable of receiving http requests and responding to them.
The classes we define as a controller is responsible for processing the requests that enter our application, validate them and give a response.
A rest controller is a type of controller that receives requests with a specific format that complies with RESTful request formats usually and mostly in JSON , although sometimes others such as HTML, XML, or simply text are used.

How to create a RestController with Spring Boot
The first step to create a ‘rest controller’ is to annotate the class with @RestController. With this annotation, Spring already knows that this class will be a component in charge of receiving calls.
@RestController
public class HelloWordController {
}
Once we have annotated the class, we can define the method, and the path in which it will receive the external call.
We write down the method that gives answer with @GetMapping, and we indicate the path in which it will answer. Here we define the path “/hello”.
@RestController
public class HelloWordController {

    @GetMapping("/hello")
    public String sayHello() {
        return "Hello dev";
    }

}
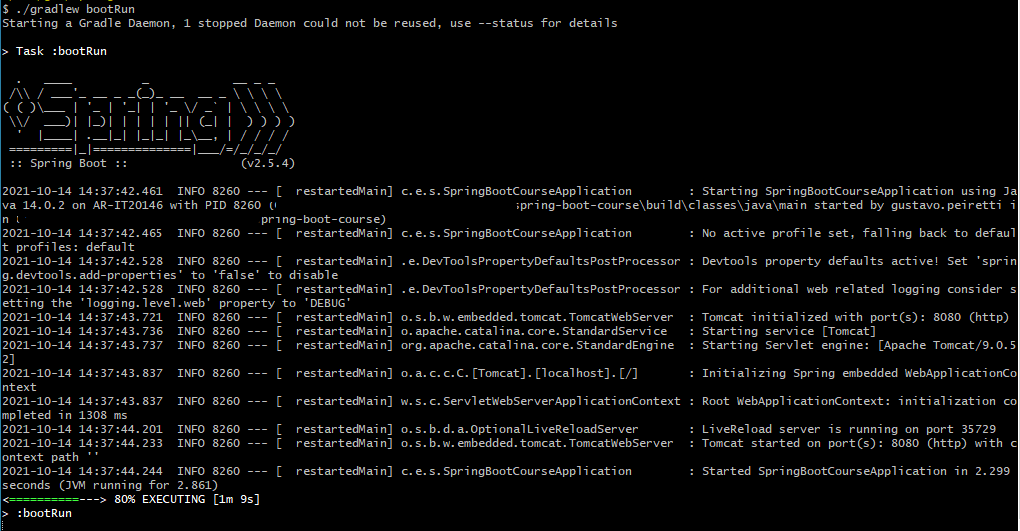
We start the application.
gradlew booRun
You can read this article where I explain the Spring Boot main and how to start it
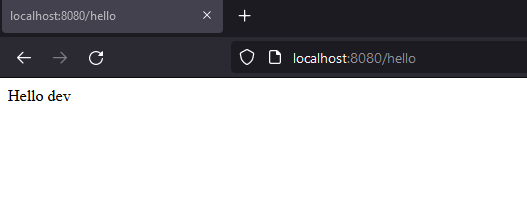
Now we can invoke our RestController by a call on the path ‘/hello’ that we defined previously.
The service raises on ‘localhost:8080’ and the path is ‘/hello’. We see the response ‘Hello dev’.
Types of mappings in a Spring Boot rest controller
At the previous point, we created a mapping for the path ‘/hello’ . We define this mapping as a @GetMapping.
However, we should know that there are other types of mapping in Spring Boot.
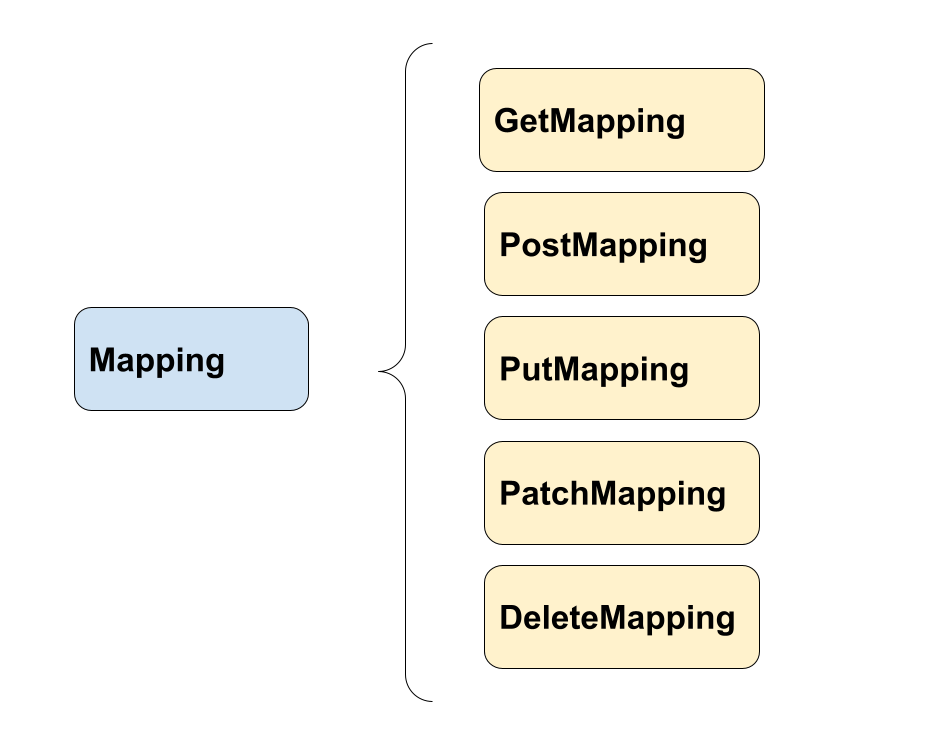
In the methods of a mapping we can use:
- Get: to request information from a resource.
- Post: to send information to create or update a resource.
- Put: to send information to modify a resource.
- Patch: to update a part of the resource.
- Delete: to delete a specific resource.
What is the difference between Post, Put, Patch?
Usually, the difference between Post and Put is that Post is used to add a resource and Put is used to modify a particular resource.
Patch is also used to update a resource but only a partiality of it.
Spring Boot mapping examples
Next we see simple examples of mapping.
For the GetMapping case we are requesting by an id to the User resource. In order to receive this id we use PathVariable.
For PostMapping, PutMapping, PatchMapping we receive a request with the body of the User that we want to insert or update.
The use of RequestBody allows Spring to understand the info we send body of the request.
In the DeleteMapping we also receive id that identifies the object to delete and returns true / false depending on whether it could be deleted or not.
@RestController
public class UserController {

    private final UserService userService;

    public UserController(UserService userService) {
        this.userService = userService;
    }

    @GetMapping("/api/user/{id}")
    public User byId(@PathVariable("id") int id) {
        return userService.find(id);
    }

    @PostMapping("/api/user/")
    public User create(@RequestBody User user) {
        return userService.create(user);
    }

    @PutMapping("/api/user/")
    public User update(@RequestBody User user) {
        return userService.update(user);
    }

    @PatchMapping("/api/user/")
    public User change(@RequestBody User user) {
        return userService.change(user);
    }

    @DeleteMapping("/api/user/{id}")
    public boolean delete(@PathVariable("id") int id) {
        return userService.remove(id);
    }

}
How would we make the call to each route?
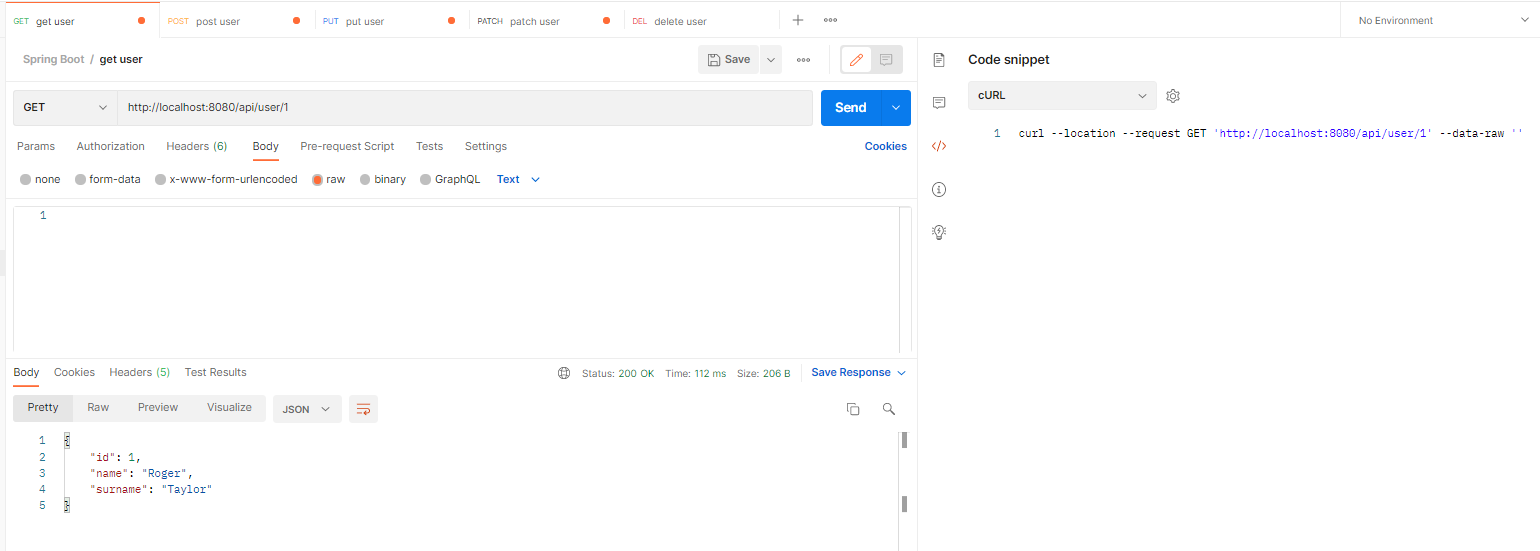
Let’s make some calls using Postman
GetMapping for the path /api/user/{id} with the id to search for
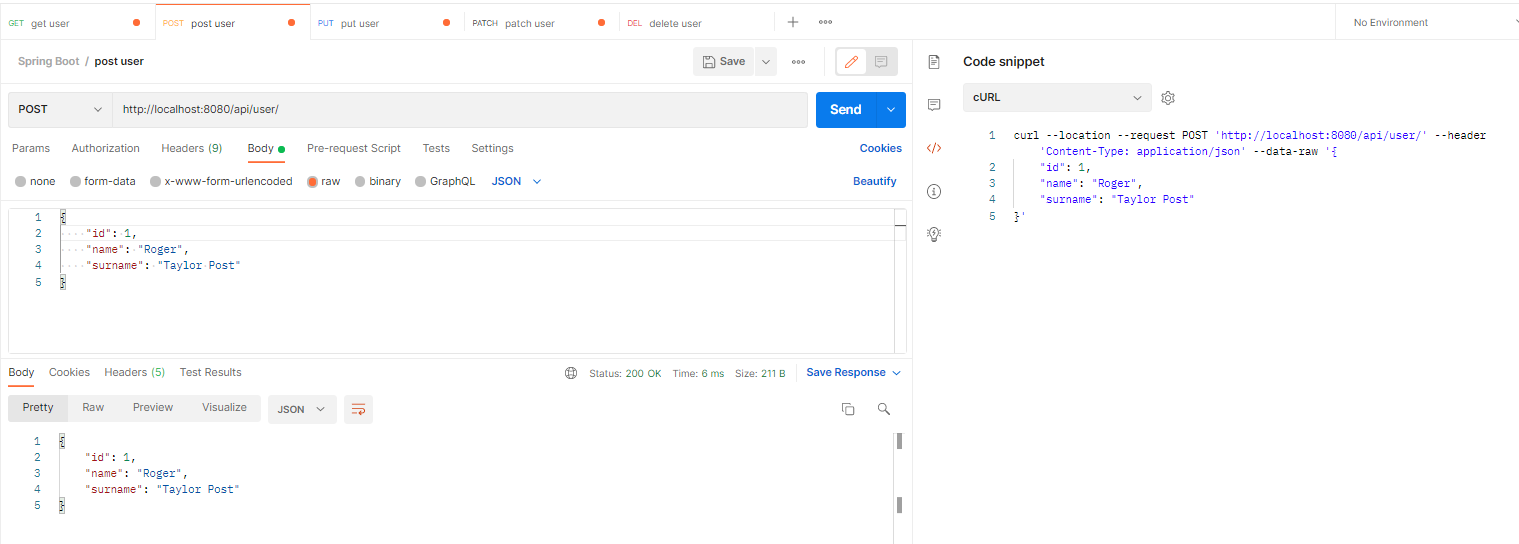
PostMapping for the /api/user/ path sending the body with the data
PutMapping for the path /api/user/ sending the body with the data

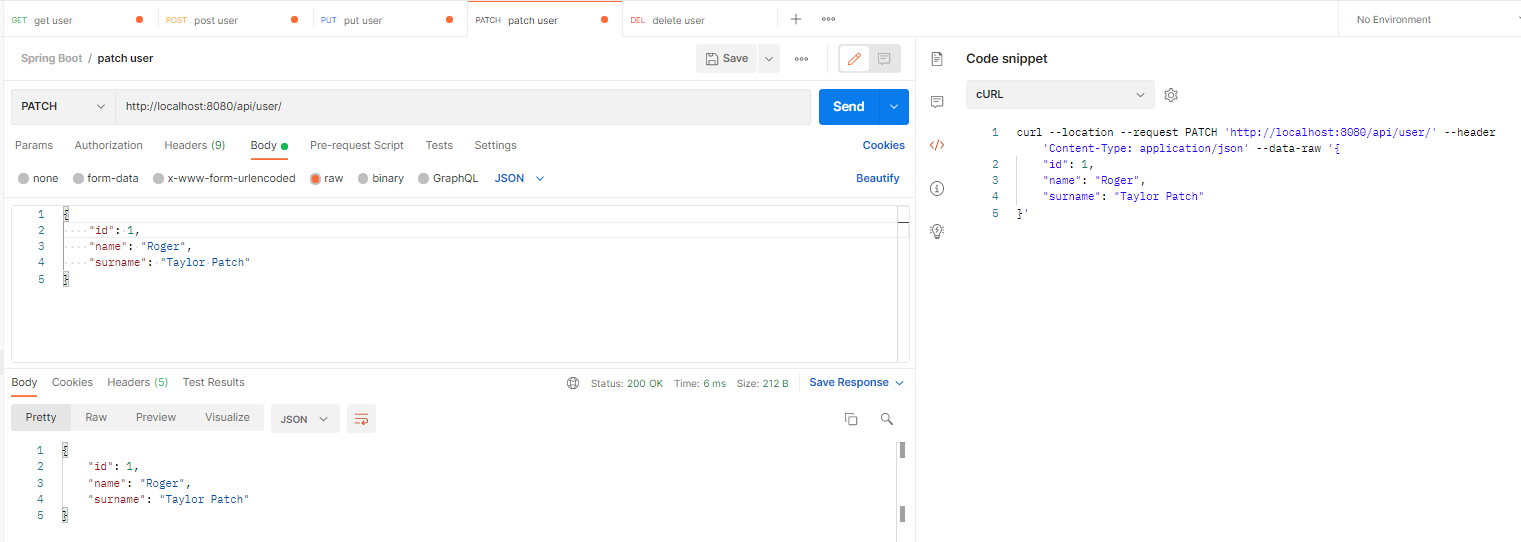
PatchMapping for the path /api/user/ sending the body with the data
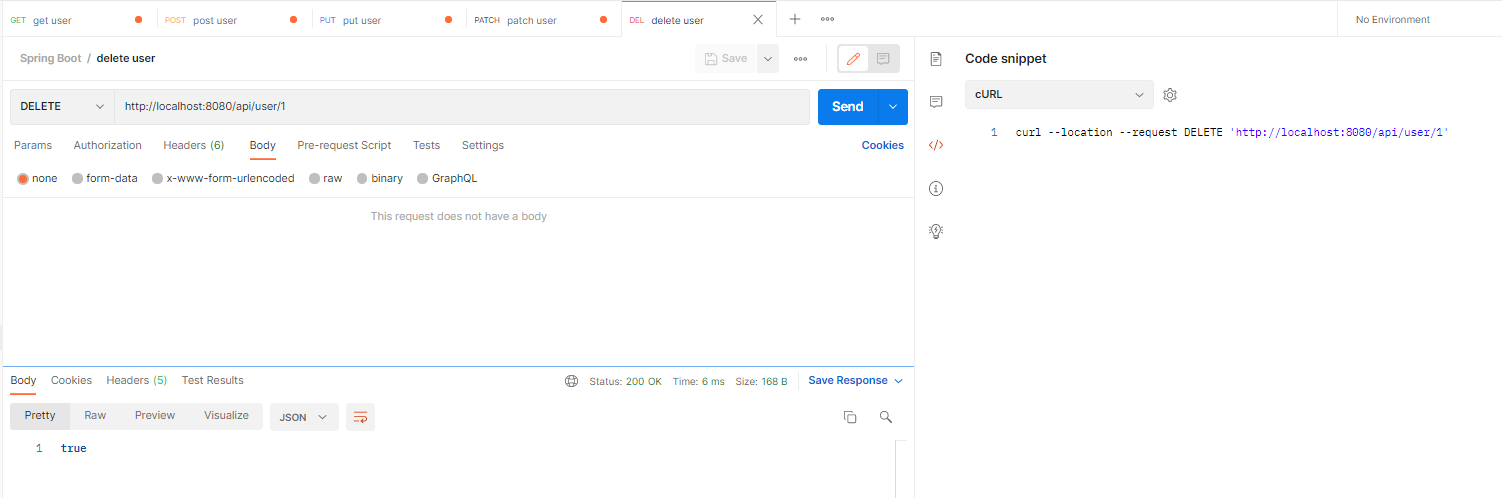
DeleteMapping for the path /api/user/{id} with the id to delete
Conclusion
In this article, we learned how to create a Rest Controller in SpringBoot with a path defined by us and how to invoke it.
We learned the use of the necessary annotations to create a controller in Spring using RestController , GetMapping, PostMapping, PutMapping, PatchMapping, DeleteMapping., DeleteMapping., PostMapping, PostMapping, PutMapping, PatchMapping, DeleteMapping.