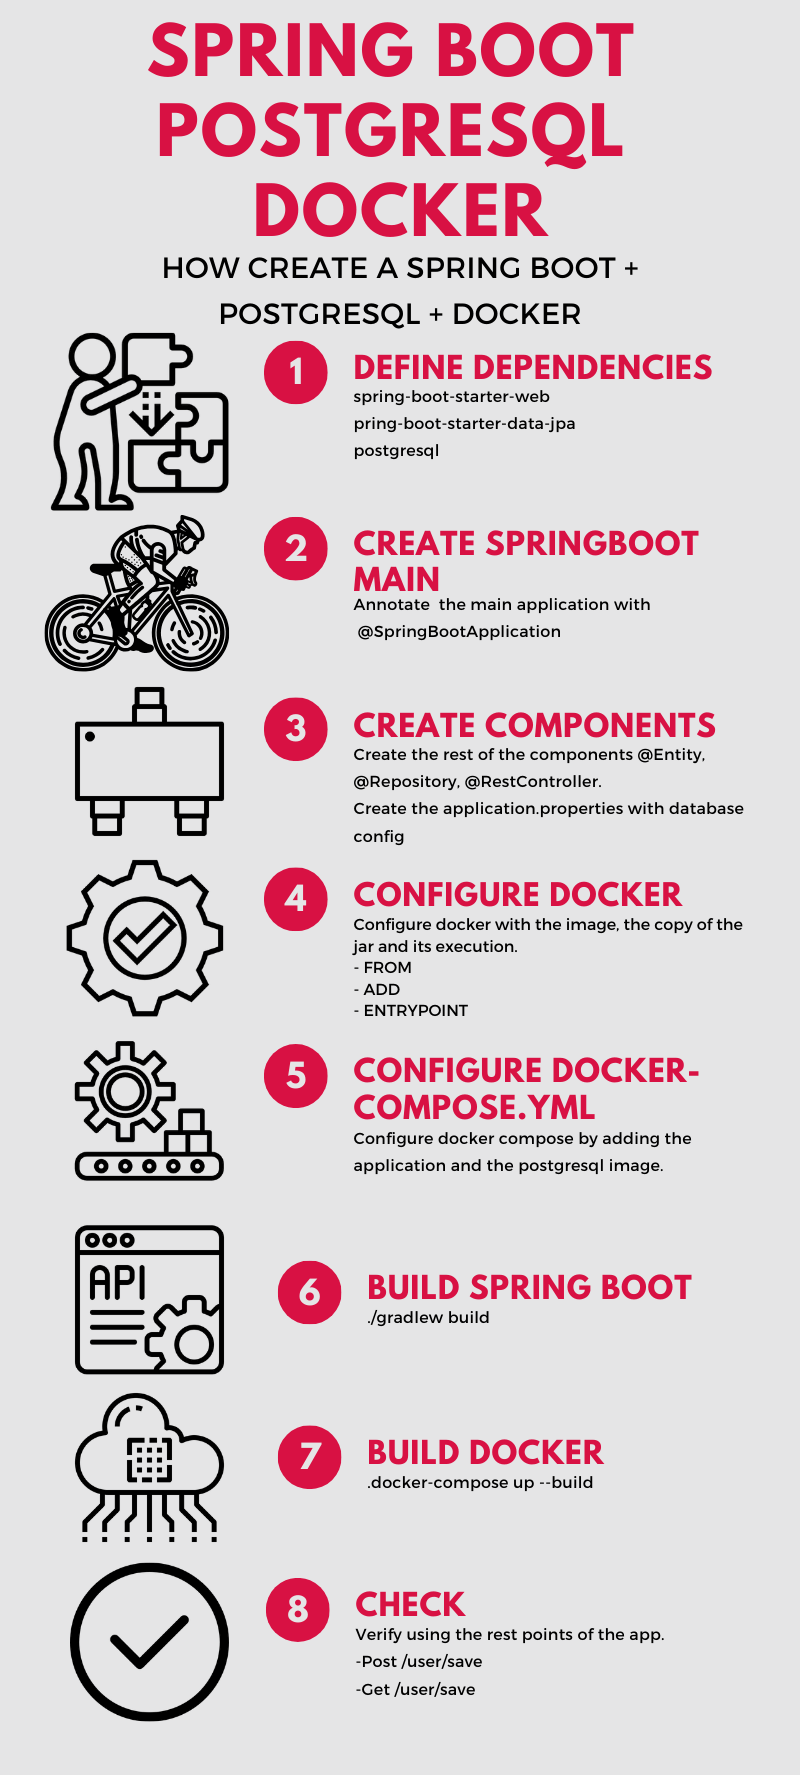
In this post you will learn how to create a Spring Boot application with a PostgreSQL database to run inside a Docker container.
We have already been working on other posts with Spring Boot, Java, and Docker. Here are some links that can help you with this topic.
Dependencies for Spring Boot with Postgresql
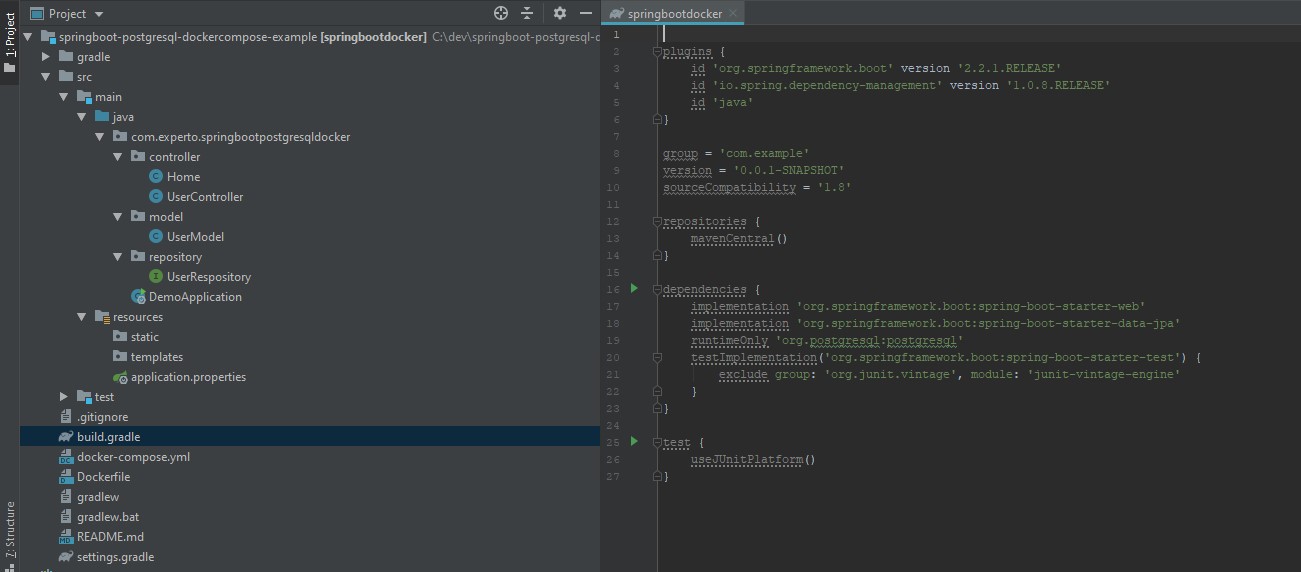
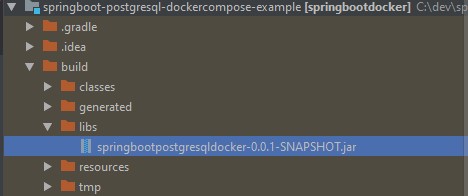
For this tutorial, you will use Gradle to manage the dependencies and the project build. The structure of your project will be at the end of this way:
You need to define the following dependencies to use Spring Boot with Postgresql:
'org.springframework.boot:spring-boot-starter-web'
'org.springframework.boot:spring-boot-starter-data-jpa'
'org.postgresql:postgresql'
The complete build.gradle file looks like this:
plugins {
	id 'org.springframework.boot' version '2.2.1.RELEASE'
	id 'io.spring.dependency-management' version '1.0.8.RELEASE'
	id 'java'
}

group = 'com.example'
version = '0.0.1-SNAPSHOT'
sourceCompatibility = '1.8'

repositories {
	mavenCentral()
}

dependencies {
	implementation 'org.springframework.boot:spring-boot-starter-web'
	implementation 'org.springframework.boot:spring-boot-starter-data-jpa'
	runtimeOnly 'org.postgresql:postgresql'
	testImplementation('org.springframework.boot:spring-boot-starter-test') {
		exclude group: 'org.junit.vintage', module: 'junit-vintage-engine'
	}
}

test {
	useJUnitPlatform()
}
The Spring Boot main method for the project
You must define the main of your application with the @SpringBootApplication annotation
@SpringBootApplication
public class DemoApplication {

	public static void main(String[] args) {
		SpringApplication.run(DemoApplication.class, args);
	}

}
The rest of the components for the project: model, repository, controller, and properties
Model
You are going to create a User entity that will be a very simple model to store in the PostgreSQL database
import javax.persistence.Entity;
import javax.persistence.GeneratedValue;
import javax.persistence.Id;

@Entity
public class UserModel {

    @Id
    @GeneratedValue
    private Long id;
    private String name;

// set and get…
}
Repository
Create a repository for our User model. Extends the Spring JpaRepository class.
@Repository
public interface UserRespository extends JpaRepository<UserModel, Long> {
}
Controller
Create a controller with basic rest points for this example.
You will define three rest points:
- “/user/all” to return all user
- “/user/{id}” to return one User by ID
- “/user/save” to save User model
import com.experto.springbootpostgresqldocker.model.UserModel;
import com.experto.springbootpostgresqldocker.repository.UserRespository;
import org.springframework.beans.factory.annotation.Autowired;
import org.springframework.http.HttpStatus;
import org.springframework.web.bind.annotation.*;
import org.springframework.web.server.ResponseStatusException;

@RestController
public class UserController {

    private UserRespository userRespository;

    @Autowired
    public UserController(UserRespository userRespository) {
        this.userRespository = userRespository;
    }

    @GetMapping("/user/all")
    Iterable<UserModel> all() {
        return userRespository.findAll();
    }

    @GetMapping("/user/{id}")
    UserModel userById(@PathVariable Long id) {
        return userRespository.findById(id).orElseThrow(() -> new ResponseStatusException(
                HttpStatus.NOT_FOUND));
    }

    @PostMapping("/user/save")
    UserModel save(@RequestBody UserModel user) {
        return userRespository.save(user);
    }

}
File application.properties
Now you define the file the configuration that the database will have with the connection URL, username and password. We will see later that these default values leave the PostgreSQL image that we will use in the docker-compose configuration file.
The spring.jpa.hibernate.ddl-auto property has these options create, create-drop, validate, update
From the spring documentation we have:
- create: create the database schema by destroying the data.
- create-drop: deletes the schema at the end of the session.
- validate: only validate the schema without making changes to the database tables.
- update: update the schema with the changes you make in your entities.
File _resources/application.properties _ .
spring.datasource.url=jdbc:postgresql://dbpostgresql:5432/mydb
spring.datasource.username=postgres
spring.datasource.password=password
spring.jpa.hibernate.ddl-auto=create
Docker configuration for Spring Boot with PostgreSQL
The Dockerfile file
In the Dockerfile file we will give the following instructions to Docker.
FROM openjdk:8-jdk-alpine
MAINTAINER experto.com
VOLUME /tmp
EXPOSE 8080
ADD build/libs/springbootpostgresqldocker-0.0.1-SNAPSHOT.jar springbootpostgresqldocker.jar
ENTRYPOINT ["java","-Djava.security.egd=file:/dev/./urandom","-jar","/springbootpostgresqldocker.jar"]

FROM: use a Docker image here [https://hub.docker.com/_/openjdk] with a jdk8 and a Linux alpine server.
MAINTAINER: contact information
VOLUME: the folder where it will work
EXPOSE: the port to be exposed
ADD: copy the jar file of our springbootpostgresqldocker-0.0.1-SNAPSHOT.ja application in the Docker container with the name springbootpostgresqldocker.jar
ENTRYPOINT: executes the statement when starting the docker container
The file_docker-compose.yml_
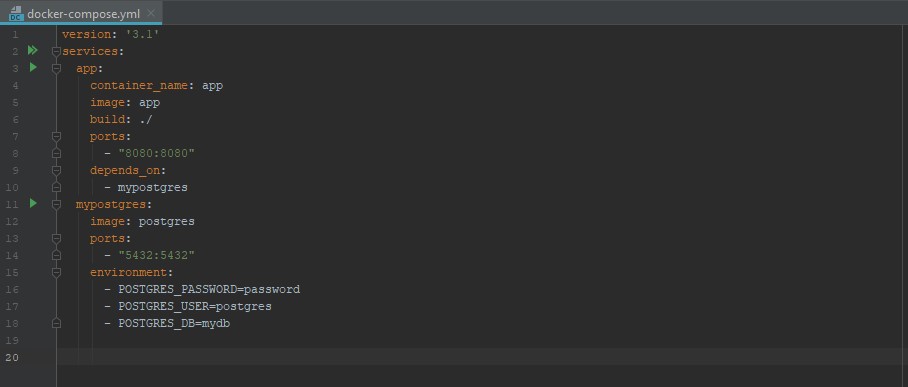
You must create a docker-compose.yml file in which you will establish two services.
The first service you will call app refers to the SpringBoot service you set up in the Dockerfile. Within that service the build instruction indicates that this service comes from the Dockerfile that you previously defined.
The second service you will call dbpostgresql uses a postgresql image of the docker hub that docker will download from there. We leave the password, user, and name of the DB that comes by default.
version: '3.1'
services:
  app:
    container_name: app-springboot-postgresql
    image: app-springboot-postgresql
    build: ./
    ports:
      - "8080:8080"
    depends_on:
      - dbpostgresql
  dbpostgresql:
    image: postgres
    ports:
      - "5432:5432"
    environment:
      - POSTGRES_PASSWORD=password
      - POSTGRES_USER=postgres
      - POSTGRES_DB=mydb
Run Spring Boot with PostgreSQL in the Docker container
Build your project to create the jar file
In this example we are using Gradle. So what you have to do is build like this:
./gradlew build
This will leave the jar file of your project in the /build/libs folder of your project.
Docker compose build to create the image and run the application inside docker
After you have made a build of your project and have the jar file available, you can launch the container.
docker-compose up --build
Test your Spring Boot + PostgreSQL + Docker application
Remember that we had previously created a UserController with a post to save the User and a get to get the users.
Now you run this post. Note that you save a User and the response returns the same User with the ID already assigned.
Post /user/save
curl -s -X POST \
  http://localhost:8080/user/save \
  -H 'Content-Type: application/json' \
  -d '{"name":"Moana"}'

Then you make a get with the ID of the new user that you previously saved.
Get /user/save
curl -s -X GET \
  http://localhost:8080/user/1
Conclusion:
In this post you created a simple app with Spring Boot using two Docker images. The first for the SpringBoot service and the second for PostgreSQL. You executed the Docker container with the images and then saved a new User in the PostgreSQL database using the rest point you defined for the User.
The code :
As always you can see this code in Github and Gitlab.
https://github.com/gustavopeiretti/springboot-postgresql-docker-example
https://gitlab.com/gustavopeiretti/springboot-postgresql-docker-example