In this tutorial, we are going to see how to debug a Spring Boot Application with Gradle using the command line console.
Remember, we learned in a previous post how to run Spring Boot Application. However, it is very common to run Spring Boot in debug mode in our daily development routine.
We can debug Spring Boot from the line command with this command:
Look at this parameter "–debug-jvm”
./gradlew bootRun --debug-jvm
This command will start Spring Boot and wait for us to connect our IDE to the port.

Now we can open your IDE. In this example we use IntelliJ.
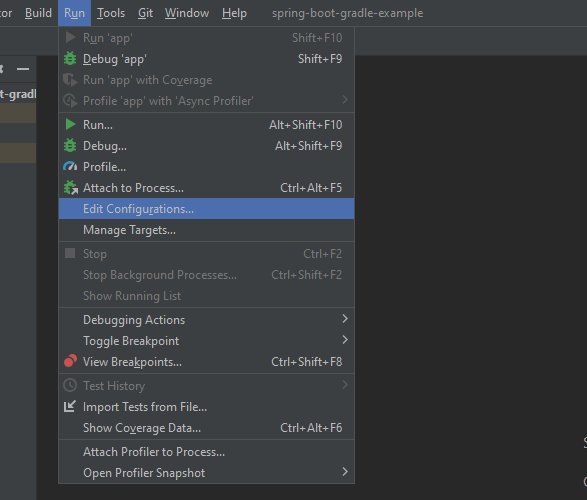
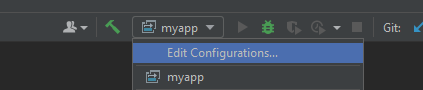
For this IDE you have to open menu /run/Edit Configurations
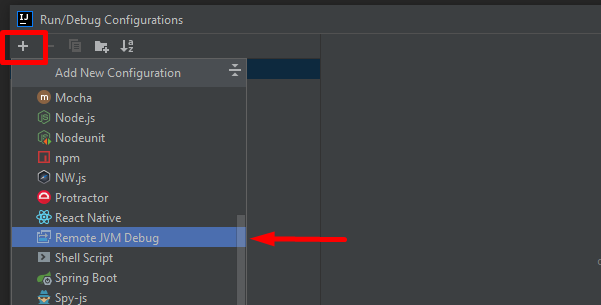
Now, click on the “plus button” and choose “Remote JVM Debug”
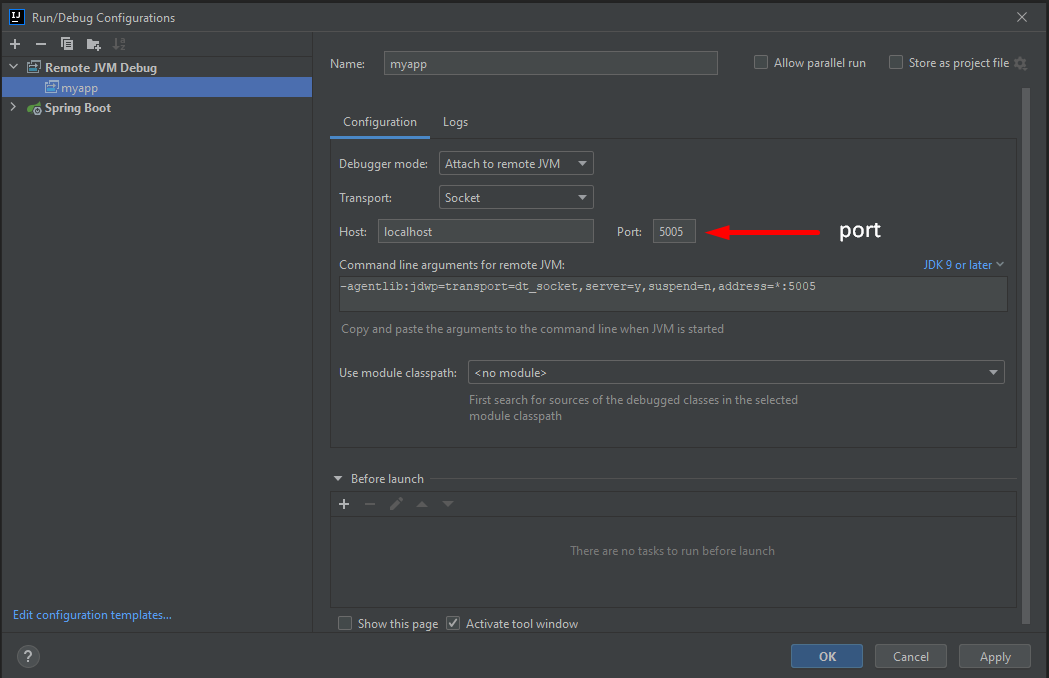
Change the port number from the same port as the console. Save with the “ok button”.
Give the name you want in order to identify your own debug option.
Now you can start your application in debug mode.
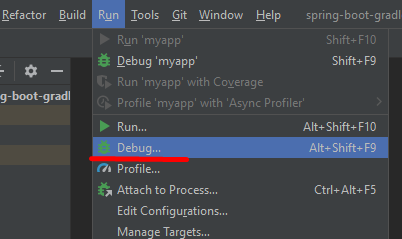
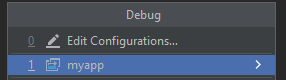
Be careful to start the command first from the console and then from your IDE.
You can perform the same operations mentioned above with the buttons on the toolbar.
Conclusion:
Here we learned how to start a Spring Boot application in debug mode from the Gradle console and how to start debugging from your IDE by adding a JVM Remote debug.